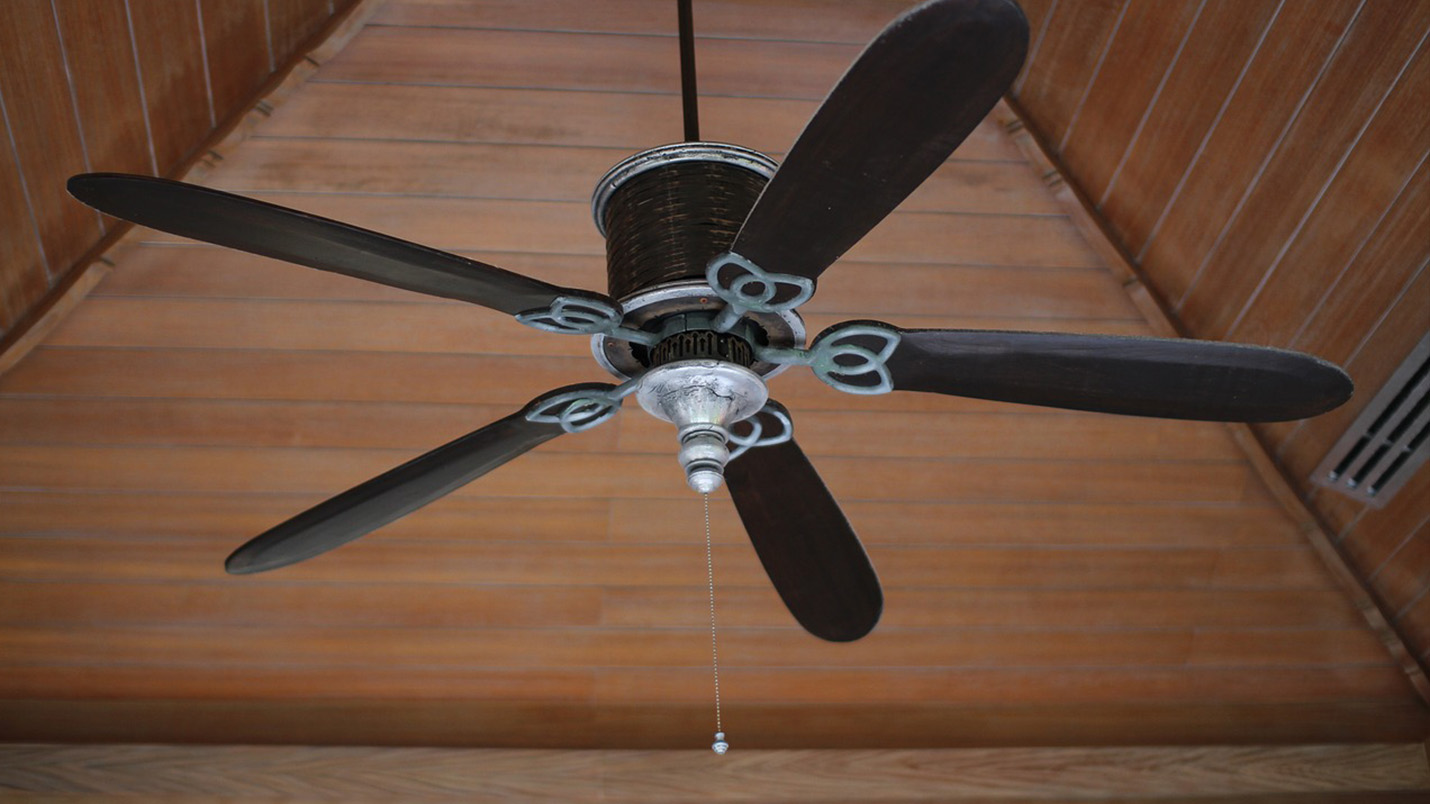
Cool Breezes Ahead: Installing a Ceiling Fan
Ceiling fans are not only functional but also add a touch of style to any room. If you're looking to improve air circulation and energy efficiency in your home, installing a ceiling fan is a fantastic choice. In this guide, we'll provide expert guidance on mounting and wiring a ceiling fan, ensuring that you can enjoy a comfortable and inviting living space.
Safety First
Before you begin, it's essential to prioritize safety. Turn off the power to the existing fixture at the circuit breaker or fuse box to prevent any electrical accidents during installation.
Removing the Old Fixture (if applicable)
If there's an existing fixture in place, you'll need to remove it before installing the ceiling fan. Follow these steps:
Detach the Old Fixture: Unscrew or unclip the old fixture from its mounting bracket. Be careful when handling the wires.
Disconnect the Wiring: Loosen the wire nuts or screws that connect the fixture wires to the electrical box wires. Gently separate the wires.
Remove the Mounting Bracket: If the new ceiling fan requires a different mounting bracket, remove the old one and install the new one according to the manufacturer's instructions.
Assembling the Ceiling Fan
Unpack the Components: Lay out all the parts from the ceiling fan kit and familiarize yourself with them.
Attach the Mounting Bracket: Secure the mounting bracket to the ceiling electrical box using screws, ensuring it's stable and level.
Hang the Fan Motor: Hang the fan motor on the bracket, making sure it's well-supported.
Wiring the Ceiling Fan
Connect the Wiring: Match the wires from the ceiling fan with the wires from the electrical box. Typically, this involves connecting the black or red wire to the black or red wire, the white wire to the white wire, and the green or bare wire to the green or bare wire.
Attach the Canopy: Cover the wiring and mounting bracket with the canopy provided by the manufacturer.
Installing the Fan Blades
- Attach the Blades: Follow the manufacturer's instructions to attach the fan blades securely to the motor.
Adding the Light Kit (if applicable)
If your ceiling fan comes with a light kit, this is the time to attach it. Ensure it's secure and that the wiring is properly connected.
Testing the Ceiling Fan
Before finishing up, turn the power back on and test the ceiling fan. Make sure it functions properly and that there are no wobbles or noises indicating an installation issue.
Final Adjustments and Clean-Up
If everything checks out, make any final adjustments to the fan's settings and positioning. Tuck any excess wires back into the electrical box and secure them. Finally, clean up any debris from the installation.
With your new ceiling fan in place, you'll not only enjoy improved air circulation but also enhance the overall comfort and style of your living space. Enjoy your newfound cool and inviting atmosphere!

Home Improvement Guru


