Enhancing Your Space: A Guide to Installing a Tile Backsplash
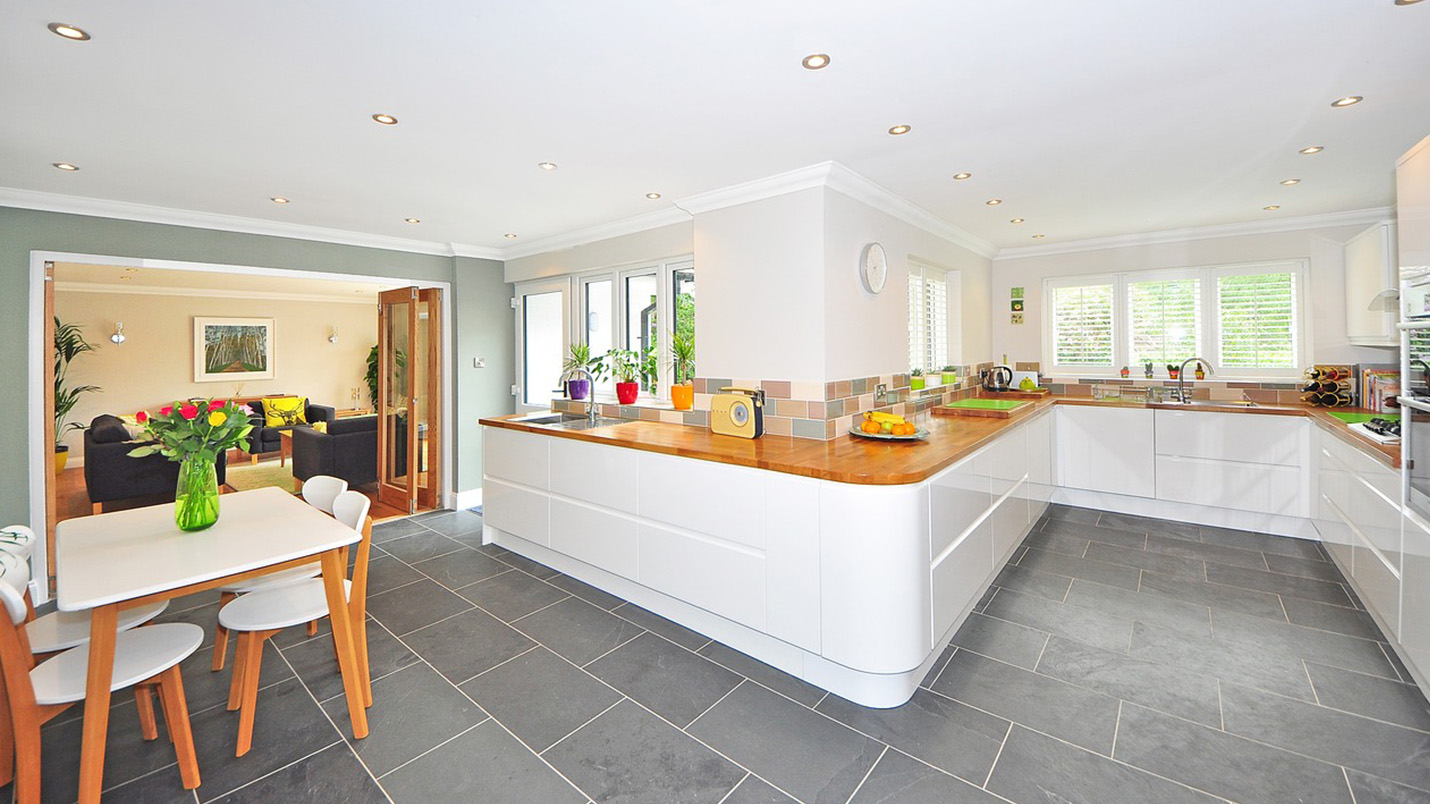
When it comes to kitchen or bathroom upgrades, few elements have the power to transform a space quite like a tile backsplash. Not only does it provide a protective barrier against moisture and splatters, but it also serves as a canvas for adding personality and style to the room. In this guide, we'll take you through the steps to measure, cut, and install a tile backsplash, empowering you to undertake this rewarding home improvement project.
Gathering Supplies
Begin by gathering all the necessary supplies. You'll need tiles, adhesive or thin-set mortar, grout, spacers, a trowel, a tile saw or cutter, a level, and a sponge for cleanup.
Preparing the Surface
Ensure that the surface where you'll be installing the backsplash is clean, smooth, and free of any debris. If necessary, apply a suitable primer to create an ideal bonding surface.
Measuring and Planning
Measure the area to determine the number of tiles needed. Plan the layout, taking into consideration any outlets, switches, or other obstacles. This step is crucial for achieving a balanced and aesthetically pleasing design.
Applying Adhesive
Using a notched trowel, spread a layer of adhesive or thin-set mortar on the prepared surface. Work in small sections to ensure the adhesive remains workable.
Placing Tiles
Carefully press each tile into the adhesive, using spacers to maintain consistent gaps between tiles. Check periodically with a level to ensure they're properly aligned.
Cutting Tiles
When you encounter areas that require partial tiles, use a tile saw or cutter to make precise cuts. Measure and mark each tile before cutting to ensure accuracy.
Allowing Adhesive to Set
Allow the adhesive to set according to the manufacturer's instructions. This typically takes 24-48 hours.
Applying Grout
Mix and apply grout between the tiles using a grout float, ensuring all gaps are filled. Wipe away excess grout with a damp sponge.
Cleaning and Sealing
Once the grout has dried, clean the tiles with a sponge to remove any residue. Apply a tile sealer to protect the grout from stains and moisture.
Final Touches
Reinstall any outlet covers or switch plates, and perform a final inspection to ensure all tiles are secure and evenly spaced.
By following these steps, you'll have successfully installed a tile backsplash, adding both functionality and visual appeal to your kitchen or bathroom. This rewarding home improvement project not only enhances the aesthetics of your space but also provides a durable and easy-to-maintain surface. Enjoy your newly upgraded area!

Home Improvement Guru


