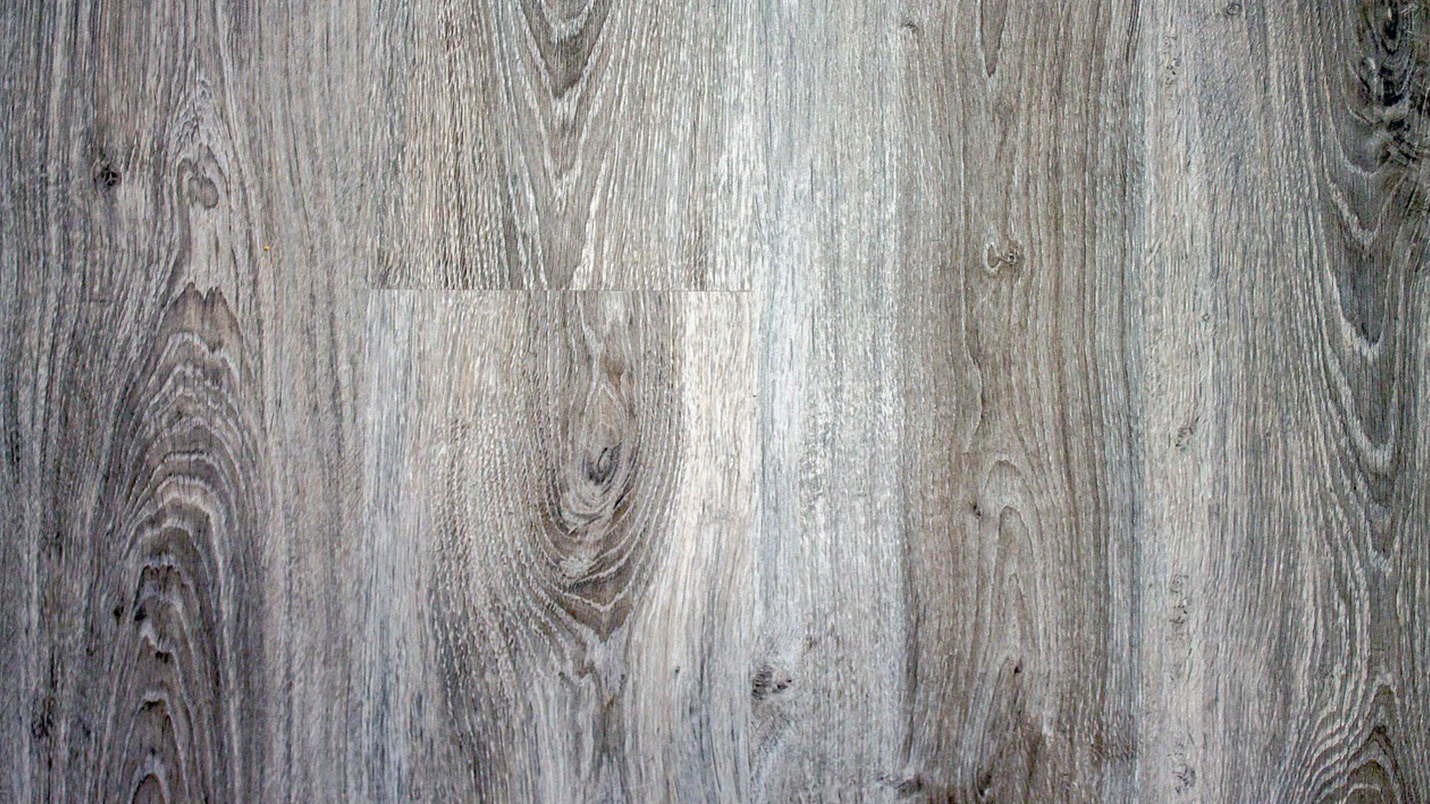
Transform Your Space: A Comprehensive Guide to Installing Laminate Flooring
Laminate flooring is a versatile and cost-effective way to upgrade the look and feel of any room in your home. This guide will walk you through the step-by-step process of installing laminate flooring, ensuring a seamless and professional result.
Preparing the Subfloor
Before you begin, it's crucial to ensure that the subfloor is clean, level, and free from any debris or imperfections. This may involve removing old flooring, fixing uneven areas, and addressing any moisture issues.
Acclimating the Laminate
Allow the laminate planks to acclimate to the room's temperature and humidity for at least 48 hours. This helps prevent expansion or contraction after installation.
Installing Underlayment
Apply a suitable underlayment material over the subfloor. Underlayment provides cushioning, noise reduction, and a moisture barrier. Make sure to stagger the seams and secure it properly.
Measuring and Cutting
Accurate measurements are crucial for a seamless installation. Measure the room's dimensions, factoring in any protruding objects like door frames. Use a saw or laminate cutter to make precise cuts.
Starting the Installation
Begin in a corner of the room, preferably one with natural light. Lay the first plank with the tongue side facing the wall, leaving a small gap between the plank and the wall to allow for expansion.
Interlocking the Planks
Continue laying the planks row by row, interlocking the tongue and groove edges. Use spacers along the edges to maintain a consistent expansion gap.
Ensuring a Tight Fit
Ensure each plank is snugly fitted against the previous one. Use a tapping block and a rubber mallet to gently tap the planks into place. This helps create a seamless appearance.
Dealing with Obstacles
When encountering obstacles like door frames or irregular shapes, carefully measure and make precise cuts to ensure a perfect fit.
Finishing the Last Rows
As you approach the final rows, you may need to cut planks to fit the remaining space. Use a pull bar to securely connect the last rows.
Adding Transition Strips
Install transition strips at doorways and areas where the flooring meets another type of flooring material.
Final Checks
Inspect the entire floor for any loose or uneven planks. Make any necessary adjustments before completing the installation.
Completing the Project
Once the installation is complete, remove any spacers, and install baseboards or moldings to cover the expansion gap.
Enjoying Your New Floor
With the final piece in place, step back and admire your newly transformed space. Your carefully installed laminate flooring not only enhances the aesthetic appeal but also adds value and comfort to your home.
By following these steps, you'll successfully install laminate flooring, giving your space a fresh and stylish look. Happy flooring!

Home Improvement Guru


